
Preparation
Workspace
Car models can be assembled on a kitchen or dining table. This is an adequate work space; however it's unlikely that you will finish the model in one day or evening; and you may spill paint or glue. So if you can, find a space in a spare room or garage. An old table will do, or a workbench. Make sure the lighting and ventilation are good, to prevent eyestrain and breathing in fumes.
Washing parts
The injection molding process for plastic model kits uses a mold release agent to help get the parts out of the mold. This also prevents paint from sticking well to the model car. So first, wash the parts. The sprues full of parts can be placed in a pan or bowl of soapy water. Carefully rub the large pieces with your fingers. Rinse, then air dry on paper towels. Use a blow dryer to complete the job, as water stains can show up under paint later.
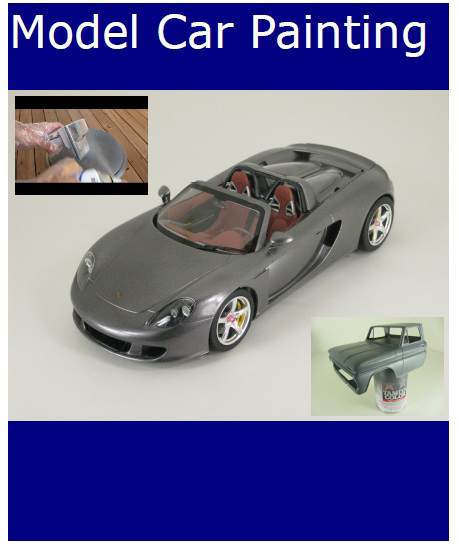
Below: Typical sprue containing model car parts.

Below: Cleaning the car body in soap and water.

Below: Blow-drying the parts to prevent watermarks.

Oils from your fingers can wreak havoc with the paint. After basic assembly or any sanding, we wash the model again before painting. Wearing disposable gloves during the paint process prevents fingerprints which can ruin your work.
Removing parts
Kids like to rip open the box and start twisting the car parts to get them off the plastic trees. This works OK for some parts. But parts with multiple attachment points can have pieces ripped off. To prevent this, use a hobby knife to gently scribe alongside the part. Then remove the part.
Next, repair the parts if needed. "Flash" is excess thin plastic that gets squeezed out of the mold, and can be removed with the hobby knife. "Sink marks" are small holes from the molding process. These are usually not visible on the completed model, but check to make sure, and if needed fill them in.
Below: The proper way to remove model car parts from the sprues. Wear eye protection.


Storing parts
Parts can be kept on the sprues until it's time to glue or paint them. Sometimes a bunch of smaller parts are taken off at the same time, to be painted with the same color. After the paint is dry, store these parts in zip-loc bags.
Store decal sheets in zip-loc bags as well, to help prevent drying and cracking.
You can fit everything back into the model car's original box, if you need to take a break, change workspaces, or even move to a new home.
Instructions
Read all the instructions. Make sure you understand the build sequence, and make notes on the instructions if there are tricky areas. Last but not least, make a list of the recommended paint colors, so you can make one purchase from the hobby shop.
Send us your comments below! Login with your Facebook, Twitter, Google or Yahoo account.