
Basic Structure
The sequence of assembly of the basic structure of the car will depend on the instructions included in the kit. Follow them closely. Here are some general tips that apply to all such assemblies:
1) Dry fit the parts before gluing. Fit everything together (with tape if necessary) to make sure that the instructions are clear and that the parts fit correctly and don't require major surgery (it happens). This applies to doors, hoods, windscreens, and just about all parts. If you find a problem with fit after you apply glue, it will be harder to correct.
2) Use as little glue as possible. Don't squeeze from the tube right onto the car. Squeeze some onto scrap paper or plastic, then use a pin or toothpick to apply the glue in a thin line. Try to keep the glue near the inside of the joint. Too much excess glue will be squeezed out onto the visible surfaces of the car. This will create extra work with sandpaper or files to make the surface smooth again. Also surface detail can be removed during the smoothing process. So use less glue than you think you need.
3) Ensure that the alignment is good. Parts like side mirrors and rearview mirrors should be put on carefully at the correct angles. Drooping or misaligned parts can ruin the look of a model.
4) Take the time to remove mold lines. These are lines created where parts of the mold meet, and do not belong on the car. You can spot them because they will be raised, whereas the actual panel lines are recessed. Consult the photos and artwork that can with the model if you're not sure what to remove. Use progressively finer grits of sandpaper to remove the lines, e.g. 600 grit, then 1500, then 2000.
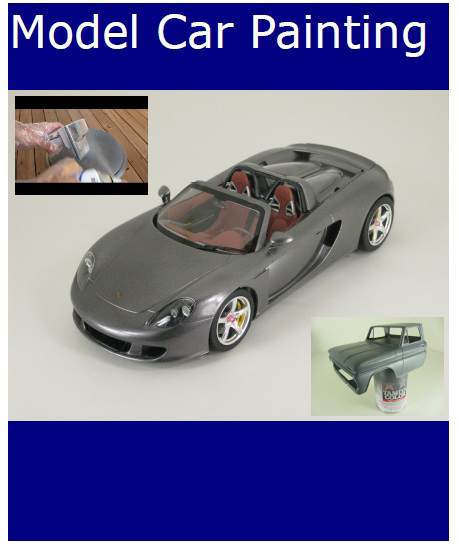
Below: Mold Lines in a Porsche Carrera GT model before and after removing with sandpaper.


5) There will sometimes be gaps between the glued parts. Remove these by applying filler material to the gap. Various manufacturers sell filling putties for this purpose:
- Apply masking tape on either side of the gap, to within 1 millimeter.
- Use a toothpick as a putty knife: cut a chisel-like edge.
- Apply the putty with the toothpick, and press down gently into the gap.
- Wipe the joint to remove the extra putty.
- Take off the tape, then let the putty dry per the instructions.
- Smooth the joint with sandpaper.
- Repeat if needed.
You can also use medium thickness CA glue for filler. It dries very quickly into a surface hard enough for sanding. Just carefully wick into the gap and let dry. Don't use tape, it will just get glued to the model.
Below: Use contour putty or CA for gap filling.

Send us your comments below! Login with your Facebook, Twitter, Google or Yahoo account.