Decals and Markings
Applying decals and markings can be one of the most fun parts of building a plastic scale model car. Some kits include a decal sheet with options to produce 2 or 3 different models, so your first task is to choose which one to model. Do this first, because the different models may use slightly different kit parts, or have somewhat different paint schemes.Decals are made up of paint layers on a plastic carrier film, with a paper backing. The glue is activated by water. The basic application of the decal is given in the kit's instructions:
- Use scissors to cut around the decal to revove it from the sheet.
- Place it in warm water using tweezers for 10 sec or so.
- Place the wet decal on a paper towel for about 30 sec. The water will penetrate the glue and loosen it from the paper.
- Slide the decal into position on the model. Very gently rub down to remove excess water and bubbles.
On some models, the decal looks as if it is painted on; on others it looks like a shiny sticker stuck on the surface. To get that painted-on look, you'll need these advanced tips:
1) Decals work much better when applied onto a glossy surface. If the paint surface is flat (matt), then it is rough when viewed under a microscope. When light passes through the clear part of the decal film and is reflected from the rough surface, the reflection is very obvious to the naked eye. This effect is called silvering.
If the model car is being finished with as new, with polishing and waxing before applying decals, then the surface will be shiny enough to prevent silvering. However, if the model is not being polished or if flat paint was used, first apply a gloss coat to the model, let it dry 48 hours, then apply decals.
2) Remove excess clear film from around the decal. E.g. if the marking is a number "9", cut the clear film inside the "9" using a sharp hobby knife. The excess film can be removed after applying the water. Removing this excess film helps reduce silvering.
3) There are special products to help make the decals go onto the surface better. Two useful ones are made by Microscale: these are Microset and Microsol. Microset is applied to the surface of the model with a brush, before placing the decal. The Microset will help you to position the decal with less effort. After it is partially dry, apply Microsol. The film initially wrinkles (but don't touch it!), then will settle down over every detail of the surface.
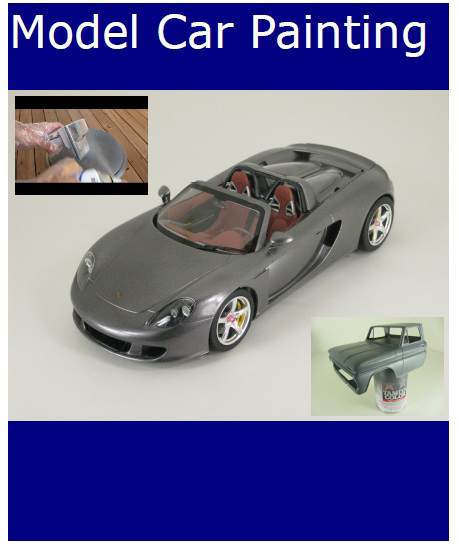
Below: Tools and materials for decaling. The mesh decal on the lower right will be applied to the clear plastic engine cover next to it.

Below: Dipping the decal into water.

Below: Wet decal on paper towel allowing the glue to loosen.

Below: Microset being applied to the clear plastic cover with a paint brush.

Below: Sliding the decal from the paper backing onto the plastic.

Below: Decal applied. Some wrinkles on the edge will disappear in the next steps.

Below: Blotting up the excess liquid.

Below: Microsol preparation.

Below: Applying Microsol with paintbrush.

Below: Plastic engine covers after the Microsol has dried. Note that all the wrinkles are gone.

4) After all the decals are applied, let the model dry overnight. Then wash off the excess setting solutions by gently using soap and water on the model. We like to blow-dry it to prevent watermarks.
5) If desired, apply another gloss coat. This seals the decals, and helps reduce silvering even further.
6) Now apply any washes. These go best on a glossy surface, as it's easier to clean up the excess wash. Other weathering can also be applied at this time, although some (e.g. pastel stains) might work better on a flat (surface).
7) Not all model cars are glossy. If necessary, apply a coat of flat clear paint. This can be mixed with glossy paint to give a semi-sheen finish if appropriate.
Also check out our Video Tutorial on Decals:
Send us your comments below! Login with your Facebook, Twitter, Google or Yahoo account.